Издатель
Visit the Rotorbuilds page for the Flying Squirrel to decide what components to choose: https://rotorbuilds.com/build/31765
Tesa Tape: https://www.tesa.com/en-us/industry/tesa-triple-a-51036.html
3M VHB 5952 Tape: https://www.3m.com/3M/en_US/p/d/b40065688/
Solder: https://www.digikey.com/en/products/detail/kester-solder/24-6337-8800/61656
Flux: https://www.kester.com/products/product/186-soldering-flux
Introduction 0:00 - 0:37
Tools Required 0:37 - 3:11
Before Starting 3:11 - 3:38
Flight Stack Screws 3:38 - 5:26
Vertical Plates 5:26 - 13:13
Arm T-Brackets 13:13 - 16:07
3D Print Prep 16:07 - 21:50
Top Cage Installation 21:50 - 24:31
Arms Installation 23:31 - 27:19
ESC Power Lead 27:19 - 40:31
12V Regulator and Fan 40:31 - 53:11
Testing, FC, Receiver, 53:11 - 56:15
Motor Mounting and Immortal T 56:15 - 1:03:53
FPV VTx install 1:03:53 - 1:11:57
Battery Quick Release 1:11:57 - 1:16:53
Go and Test Fly 1:16:53 - 1:17:52
Remove Top Cage 1:17:52 - 1:19:35
Power Port Soldering 1:19:35 - 1:23:44
Bluetooth Install 1:23:44 - 1:25:53
PCB Extension 1:25:53 - 1:29:17
Top Buttons 1:29:17 - 1:35:47
Power Port Install 1:35:47 - 1:36:52
PCB Motherboard Mounting 1:36:52 - 1:47:02
Sensor Ribbon Cable 1:47:02 - 1:51:56
Top Plate Install 1:51:56 - 1:56:28
Side Plate Install 1:56:28 - 1:57:48
Lens Mount Assembly 1:57:48 - 2:09:22
Lens Mount Install 2:09:22 - 2:13:15
Power Testing 2:13:15 - 2:14:42
LCD Case Build 2:14:42 - 2:24:02
Shimming Procedure 2:24:02 - 2:32:20
Outro 2:32:20 - 2:32:35
- Категория
- 3d принтер своими руками
Комментариев нет.
Следующее
-
03:40

Dog Coin Bank (Assembly Instructions)
-
03:50
Cat Coin Bank for 3D-Print (Assembly Instructions)
-
14:23
Assembly Instructions for THE HEIST Puzzle Box ... unfiltered and unedited!
-
03:57
OX Coin Bank (Assembly Instructions)
-
02:05
3D Printed Tabletop Kinetic Sculpture- Assembly Instructions
-
06:39
Mongoose Custom for 3D-Print (Assembly Instructions)
-
04:33
DISWAY 01 DIY 3d printer kits assembly instructions
-
03:51
A Motorized SHARK for 3D Print (Assembly Instructions)
-
04:03
Aryzon 3D Print MR Assembly Instructions
-
07:16
Stealth Air Fighter for 3D Print (Assembly Instructions)
-
07:34
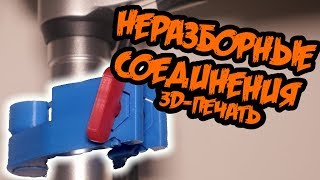
Неразборные подвижные механизмы - моделирование и 3D-печать | Autodesk Fusion 360
-
11:11
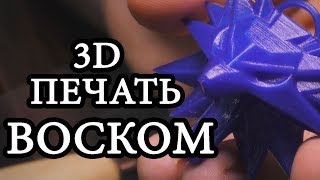
3D печать воском / как печатать филаментом WAX
-
20:40

Печатаем то, что не купить! Мой новый 3D принтер TEVO Tornado!
-
14:25

-
22:07

3D печать в Швейцарии / Prozhektor8kvt в Швейцарии
-
10:02

3D-печать Nylon и Flex. Советы и рекомендации. 3d печать Nylon на открытом 3D-принтере
-
42:56

Всё про 3D печать – Михаил Пономарев
-
08:49
Прозрачный ABS Bestfilament Сопло 03 на Prusa i3 3D ПРИНТЕР
-
20:01

3d печать ШЕСТЕРНИ. ТЕОРИЯ И ПРАКТИКА. Модульная и питчевая системы
-
13:14

3д-печать: Диаметр сопла - 0.2мм 0.4мм 0.8мм
